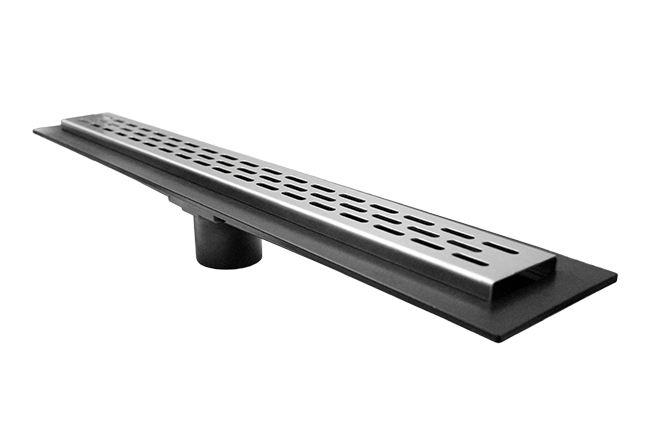
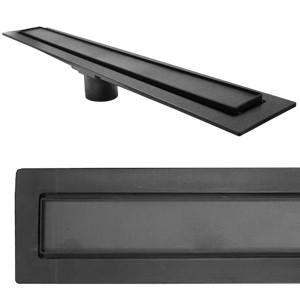
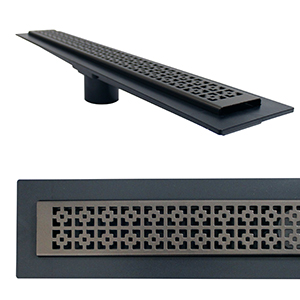
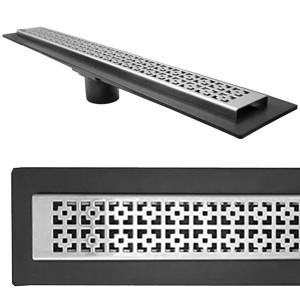
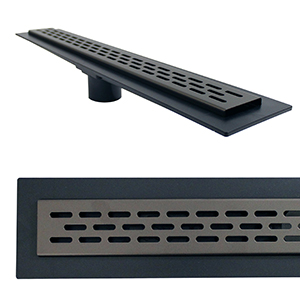
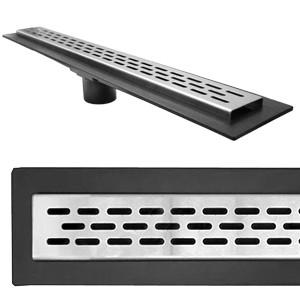
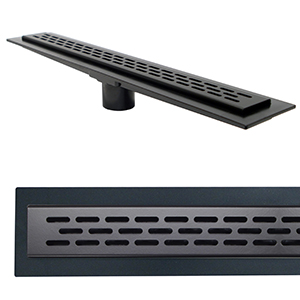
Benefits
- Seamless Design
- Fast and Easy Installation
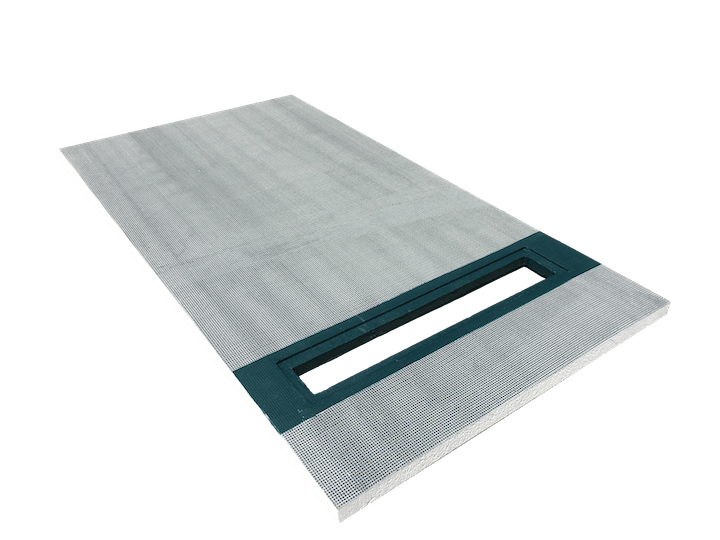
- Fully integrated with our shower pans
- Use with mud application if desired
- Low Profile Streamlined Design
- Ideal for Tub-to-Shower Conversions
- One-Piece Injection Mold Construction
- 1" Textured Bonded Flange Makes for Easy Waterproofing Installation
- Plank Pitch Allows for Large Format Tile or Stone to be Used on Shower Floor
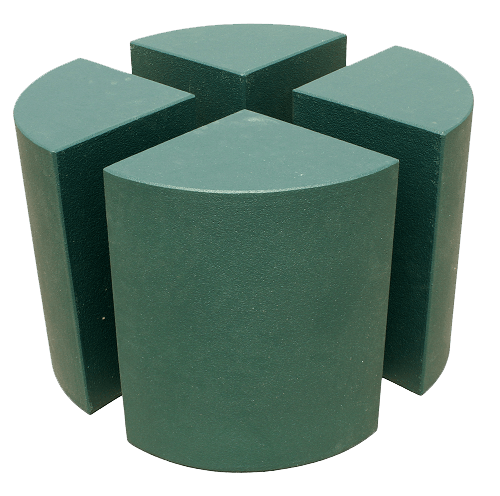
- Patent Pending Grate Risers™ Allow Easy Height Adjustment for Different Surface Tile Thickness
Linear Drain Installation
General Considerations
Linear drains are best placed against the end or side wall or shower threshold.
Any waterproofing layer should be supported by a pitched slope of 1/4” per foot towards the drain whether waterproof membrane coat is under thick bed mortar or on top.
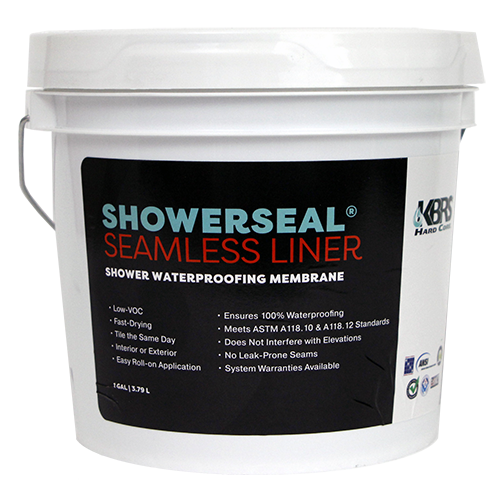
Reinforcing Fabric should always be used with Liquid Applied Membranes for gaps of more than 1/8”. It is recommended to use reinforcing fabric where the drain flange and mortar bed meet as well as for any floor to wall transitions for added durability.
If installing a curb-less shower, position drain parallel to entry (front, middle or back of shower) so plank pitch doesn’t compromise an even/level entry.
If placing drain flush to walls - back and/or sides of flange should be set against the studs or sill plate (center of waste pipe needs to be 2 1/4” out) and backer board should be installed directly on top of flange.
Consider tile thickness and thin-set to make any needed adjustments. Finished wall tile should sit approximately 1/16” from the inside of the drain cavity wall to allow for proper grate placement.
Set floor tile 1/16” from the edge of the grate to allow for smooth installation and removal of grate.
Linear Drain Grate Risers (included with stainless steel grates) should be used to install the grate at the proper height, slightly below level of surface tile (approx. 1/16”) to ensure proper drainage.
Method 1 - Traditional Primary Shower Pan (Unbonded Membrane)
Waterproofing installed under thick-bed mortar using Liquid Applied membrane. This method must be used with a traditional clamping ring type drain assembly with clear weep holes and is performed in exactly the same way as a traditional shower drain assembly.
A 2 inch threaded coupling is used to connect the linear drain body to the drain sub-assembly (with clamping ring). Mortar should be packed under the linear drain body to support it level and in place.
Method 2 - Bonded Mortar Bed Installation
Waterproofing is installed on top of the plank-pitched mortar bed and adhered directly to the 1 inch textured bonding flange of the linear drain. Either a liquid applied membrane or a bonded sheet membrane (ANSI 118.10) can be used for this installation type. When using liquid waterproofing membrane it is recommended to use reinforcing fabric where the drain flange and mortar bed meet for the most durable installation.
In this method the 2 inch outlet from the linear drain is attached to the waste line using a 2 inch coupling according to plumbing industry standards. Mortar should be packed under the linear drain body to support it level and in place. Apply liquid or sheet membrane to the flange, mortar bed and shower system according to manufacturer's instructions.
Using Installation Methods 1 & 2 together for added security
Many industry professionals are using both a traditional primary shower pan and surface level waterproofing together for double protection and peace of mind. Waterproofing the entire shower enclosure may also help provide a worry free install.
Linear Drain Installation
Linear Drain Specifications
Linear ShowerSlope™ Installation
Linear Tile-Basin® Installation
Product Specifications found on the "Document Library" page


